



Initial hardware verification and device integrity: How to set up a hardware wallet for the first time
Before you transfer any digital assets, you must confirm that your hardware wallet has not been tampered with during transit. Understanding the distinctions between Binance Wallet and hardware wallets is crucial for strategic asset allocation. Security begins at the supply chain level, and verifying the physical and digital state of your device is the most critical step in how to set up a hardware wallet for the first time.
Verifying device authenticity
Start by inspecting the packaging. Most reputable manufacturers, such as Ledger or Trezor, use tamper-evident holographic seals or specialized adhesive tape. If the box arrives with the seal broken, missing, or showing signs of residue, do not use the device. Contact the manufacturer directly to report the issue rather than attempting to initialize it.
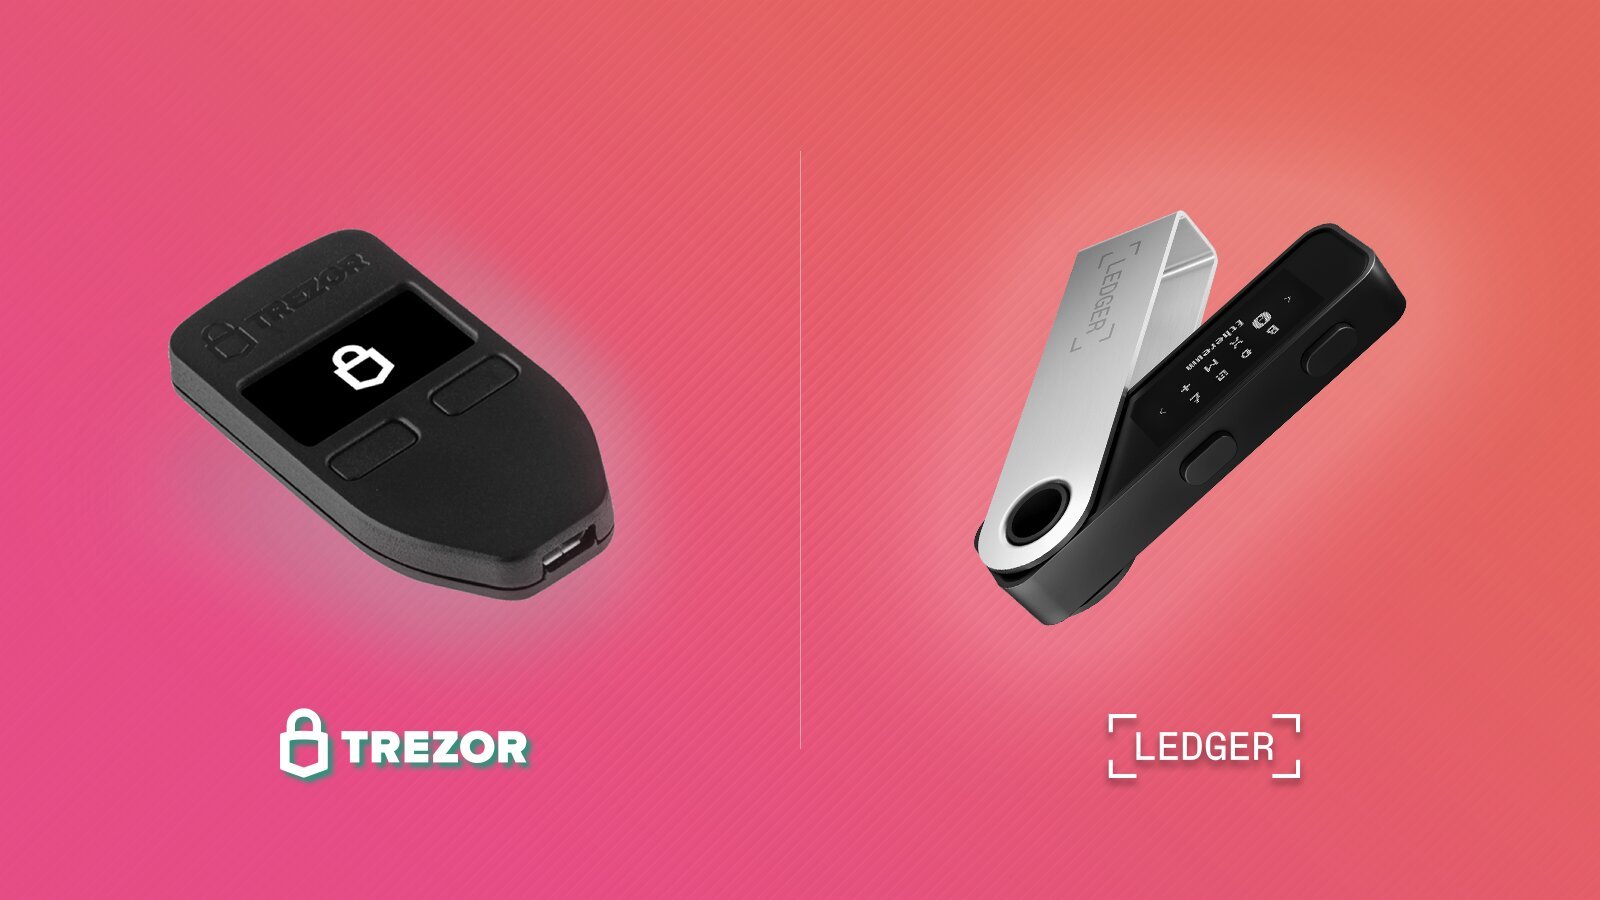
Once you have confirmed the physical packaging is intact, connect the device to your computer using the manufacturer’s official desktop application. Never use third-party software or browser extensions to initialize your wallet.
The official software—such as Ledger Live or Trezor Suite—performs an attestation check. This process uses a secure chip inside the hardware wallet to communicate with the manufacturer’s servers, verifying that the device’s firmware is authentic and has not been modified by a malicious actor.
If the software reports that the device is genuine, you can proceed to the setup process. If the application fails to recognize the device or displays a warning about an unknown firmware version, disconnect the hardware immediately. For general wallet troubleshooting guidance, it’s often helpful to consult official resources. A genuine device will always be recognized by the official manufacturer’s software. By relying on this cryptographic handshake, you ensure that the device’s private key generation process remains isolated from your computer’s potentially compromised environment.
Generating your recovery seed phrase
Once you initialize your device, the hardware wallet generates a recovery seed phrase, typically consisting of 12, 18, or 24 random words. This sequence is the master key to your funds. If your device is lost, stolen, or damaged, this specific order of words is the only way to restore access to your assets on a new device.
The wallet will display these words on its screen one by one. You must transcribe them accurately onto the provided recovery sheet or a piece of paper. Double-check every word against the device screen before confirming the setup. If you misspell a single word or swap the order, you will be unable to recover your funds later.
Never take a photo of these words, do not store them in a password manager, and never type them into a computer, smartphone, or cloud storage service. If the words touch a device connected to the internet, your security is compromised.
Physical storage best practices
The security of your cryptocurrency depends entirely on the physical safety of your recovery seed phrase. Because this phrase grants absolute control over your wallet, it must remain offline at all times. Store your recovery sheet in a fireproof and waterproof container. Many users opt for a stainless steel backup plate, which is far more durable than paper and resistant to physical degradation over time.
Consider the following strategies for secure storage:
- Geographic redundancy: Keep copies in separate, secure locations to protect against localized disasters like house fires or floods.
- Avoid public exposure: Never leave your recovery sheet in plain sight, such as in a desk drawer or an unlocked filing cabinet.
- Tamper-evident seals: If you store your seed phrase in a physical safe, use tamper-evident tape to ensure you can detect if someone else has accessed the storage container.
Treat this piece of paper or metal plate as if it were physical cash. If an attacker gains access to your seed phrase, they can drain your wallet from anywhere in the world without needing your physical hardware device. Once you have verified the words and secured the physical backup, you can safely proceed to generate your first receiving address.
Establishing a secure PIN and device password
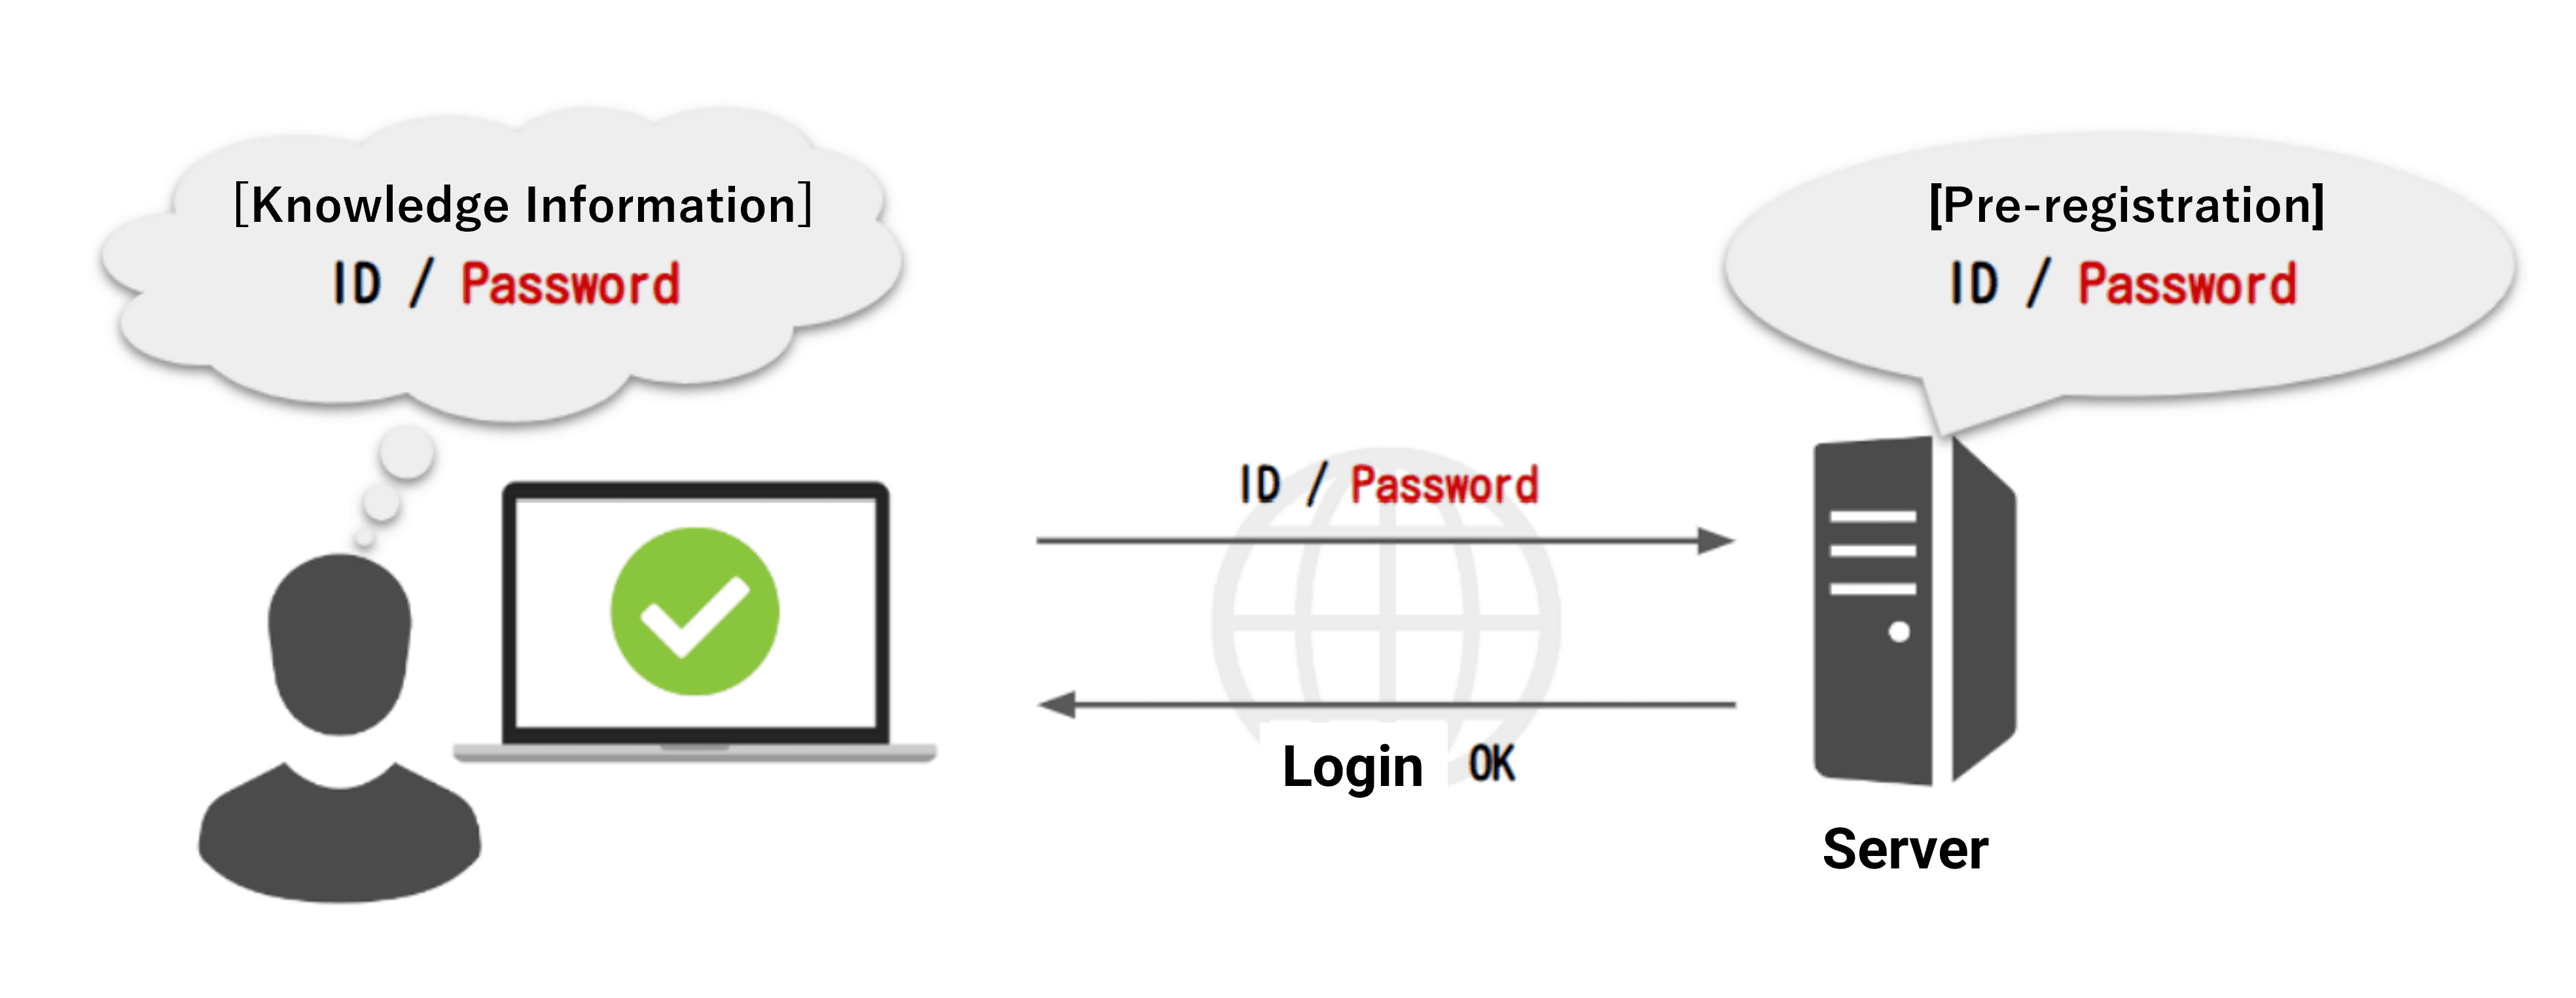
Once your hardware wallet is powered on and connected to your computer or mobile device, the first line of defense is the PIN code. This code prevents unauthorized physical access to your device. Unlike a website password, the PIN is stored locally on the hardware wallet’s secure element chip, meaning it never leaves the device.
When setting this up, avoid using predictable sequences like 1234, 0000, or your birth year. A strong PIN acts as the primary gatekeeper before you even reach the recovery phrase stage.
PIN complexity and lockout mechanics
Hardware wallets are designed with strict anti-brute-force mechanisms to protect against physical theft. If a malicious actor attempts to guess your PIN, the device enforces a progressive lockout period.
For example, most Ledger or Trezor models will wipe the device’s sensitive data after a specific number of consecutive failed attempts—usually between three and ten tries depending on the manufacturer’s firmware settings. This lockout mechanic is a critical security feature. It ensures that even if someone physically steals your hardware wallet, they cannot simply run a script to cycle through thousands of PIN combinations.
Once the device reaches its maximum failed attempt threshold, it triggers a factory reset, rendering the data on the chip inaccessible. Because of this, you must prioritize remembering your PIN while keeping your recovery seed phrase stored in a separate, fireproof, and physical location.
If you forget your PIN, you will need your 12-to-24-word recovery phrase to restore your wallet and access your funds on a new device. Never store your PIN on your computer, in a cloud note-taking app, or anywhere accessible via an internet-connected device, as this defeats the purpose of hardware-based isolation.
Connecting to official companion software
Once your device is initialized and your recovery phrase is secured, you must link the hardware wallet to its official companion application. This software acts as the interface between your physical device and the blockchain. For Ledger devices, this is Ledger Live; for Trezor, it is Trezor Suite. Download these applications exclusively from the manufacturer’s official website—ledger.com or trezor.io—to avoid malicious phishing clones. For those interested in a wider range of decentralized applications, exploring the Binance Web3 Wallet dApp compatibility list can provide insights into supported platforms.
Upon launching the software, select the option to connect a new device. The application will prompt you to verify the connection via USB. Your hardware wallet will display a request on its screen, asking you to confirm the export of public keys or the connection to the host. If you encounter general wallet connection errors, troubleshooting steps can vary depending on the wallet type. Always verify the address or fingerprint shown on the device screen matches the one displayed on your computer monitor before proceeding. This step ensures you are not interacting with a compromised interface.
Firmware updates and security patches
Manufacturers frequently release firmware updates to patch security vulnerabilities and add support for new assets. When you connect your device for the first time, the companion software will likely trigger a notification that an update is available. Do not skip this process.
Firmware updates are essential because they harden the device against physical side-channel attacks and software-based exploits that could jeopardize your private keys. Beyond device security, managing Binance Web3 Wallet privacy settings is vital for protecting your online interactions with decentralized applications. During a firmware update, your device may temporarily wipe its memory or require you to re-verify your recovery seed. This is a standard security protocol.
Ensure your computer has a stable internet connection and that your device remains plugged in throughout the entire process. If the connection is interrupted, the device may enter a recovery mode, which is why having your physical recovery phrase written down is non-negotiable.
Once the update completes, the device will reboot, and you can proceed to create your first account or wallet address within the software interface. Regularly checking for these updates, even after the initial setup, is a fundamental practice for long-term cold storage security.
Testing the wallet with small transactions
Before moving your entire portfolio, verify your setup by performing a test transaction. Send a negligible amount of cryptocurrency—such as $5 to $10 worth of Bitcoin or Ethereum—to your new hardware wallet address. Once the transaction confirms on the blockchain, send that same amount back to your exchange or another wallet. This confirms that your private keys are correctly managing outgoing transactions and that your receiving address is accurate. Issues with transaction signing, such as a failed signature request, can occur across different wallet types and require specific troubleshooting. If the funds arrive and depart as expected, your device is functioning correctly. Avoid the common mistake of sending a large balance immediately after initialization. Always verify the address on the device screen itself, as this is the only way to ensure the address displayed on your computer monitor has not been compromised by malware.
Validating the recovery process through a test reset
The most critical step in learning how to set up a hardware wallet for the first time is verifying that your backup works. Do not skip this. Once you have confirmed your small test transaction, intentionally reset your hardware wallet to factory settings. Most devices, such as the Ledger Nano X or Trezor Safe 3, have a specific menu option to wipe the device.
After the device is wiped, use your written recovery seed phrase to restore the wallet. If the restored wallet shows the same address as the one you used for your test transaction, your backup is valid. If the addresses do not match, your seed phrase was recorded incorrectly.
Because you only sent a small amount of crypto, you have successfully identified a failure point without risking your primary assets. If the restoration fails, you must generate a new wallet immediately and move any funds to the new, verified address. Never rely on a seed phrase that has not been tested through a full restoration process.
Frequently Asked Questions
The critical importance of seed phrase security
The most critical step is physically writing down your 12-to-24-word recovery phrase on paper and storing it in a secure, fireproof, and private location. Never store this phrase digitally, such as in a screenshot, cloud storage, or password manager.
Internet connectivity requirements during initial setup
You must connect the device to a computer or mobile phone via USB or Bluetooth to initialize the firmware and generate your keys. However, your private keys never leave the hardware wallet’s secure element chip, ensuring they remain offline even during the setup process. If you are interested in broader ecosystem tools, you might explore how to use binance web3 wallet for dapps or learn how to manage multi-chain dapps in binance wallet for your daily DeFi activities.


